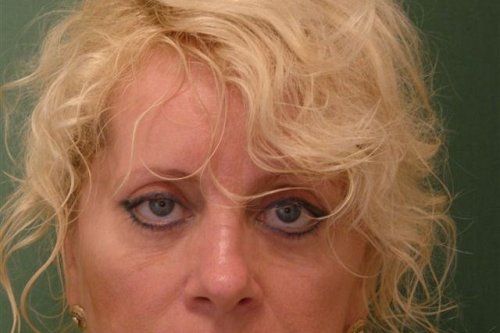
1) Consultation - both upper and lower eyelids need to be operated on
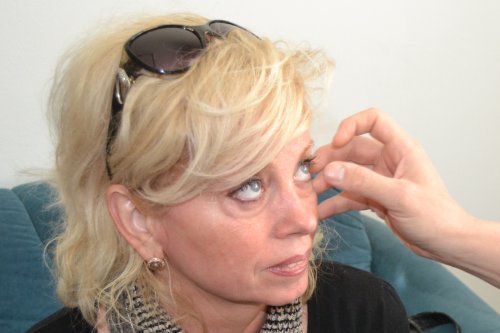

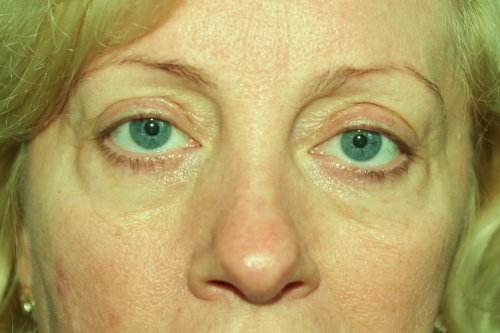
2) Pre-operative photo

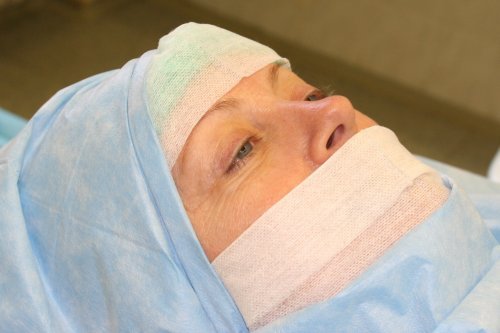
3) In the operating room, rounded up, all ready for surgery

4) We start by measuring and sketching the skin excesses
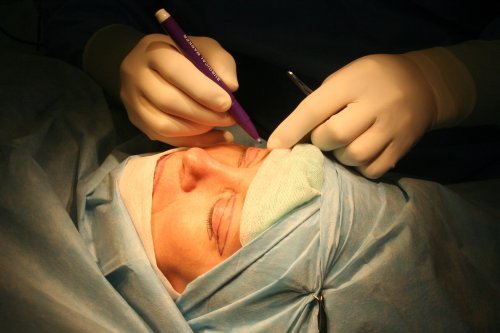

5) Even though the upper eyelids are post-op, the excesses in the outer corners are not small
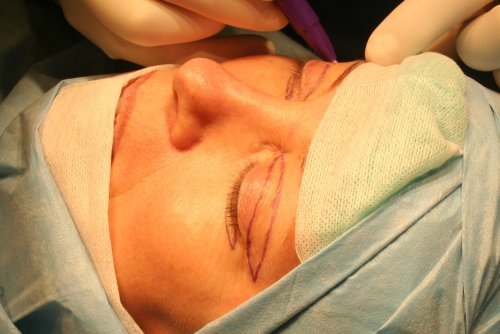

6) We continue with local anesthesia, the patient is already asleep because the procedure is performed under analgosedation
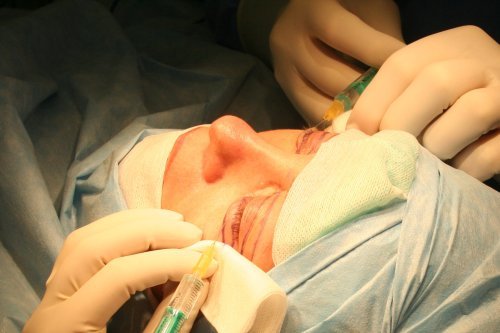

7) The skin is numbed, the operation can begin
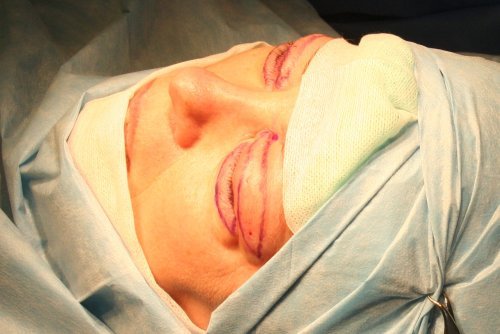

8) According to the drawing, the excess skin is removed
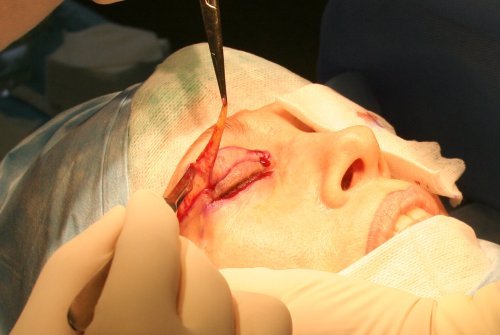

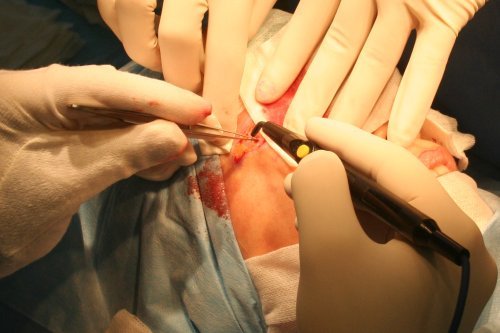
9) Minor bleeding is stopped by radiocoagulation

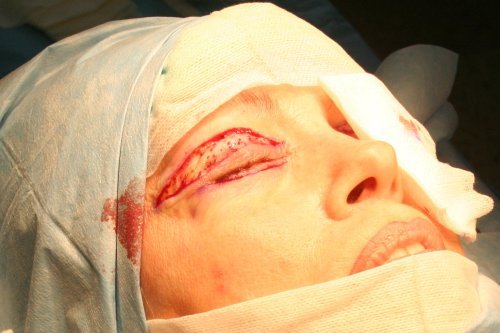
10) Skin excess is removed, we move to the next stage of the operation

11) After opening of the lower eyelid muscle, a skin fat pad appears - the so-called prolapse
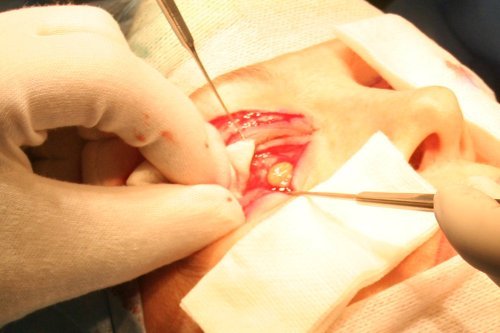

12) We measure the part of the prolapse to be removed
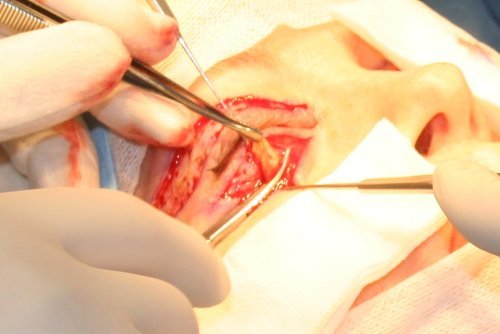

13) Removal of the prolapse is performed with a radioscalpel
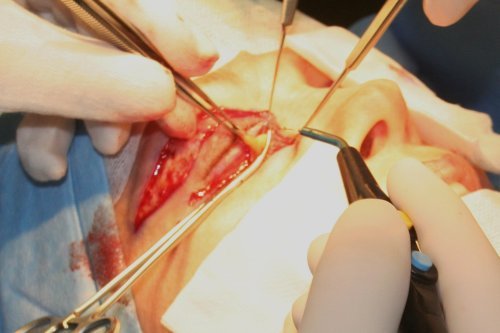

14) The same procedure is done in the inner corner
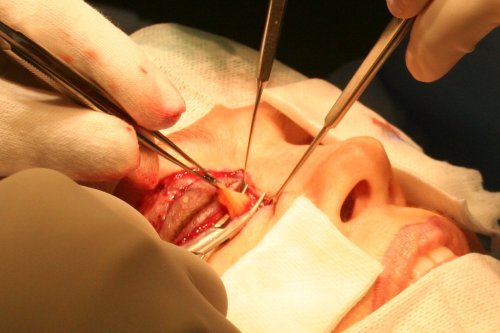

15) Also in the outer corner of the lower eyelid, we remove a total of 3 fat prolapses
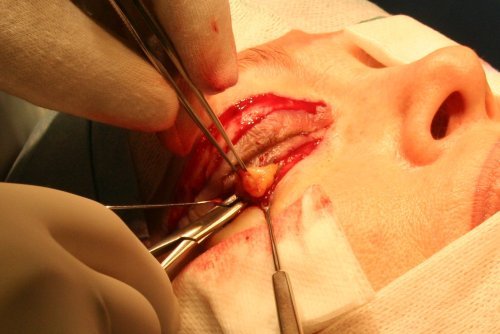

16) Excess fat is removed on the lower eyelid, we can move on to the upper eyelid
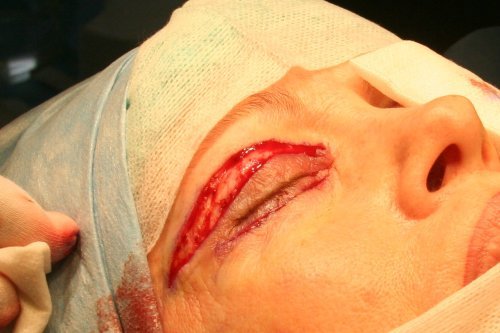

17) Here we proceed in the same way
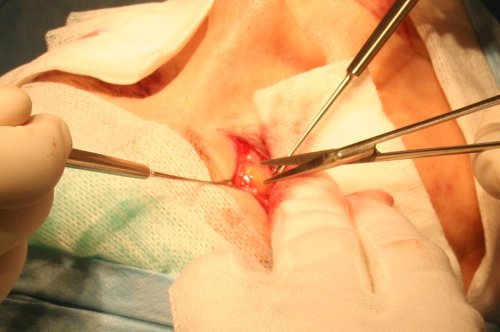

18) Excess fat completely removed, we can start stitching the skin
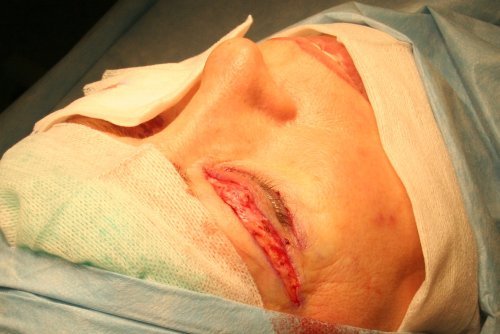

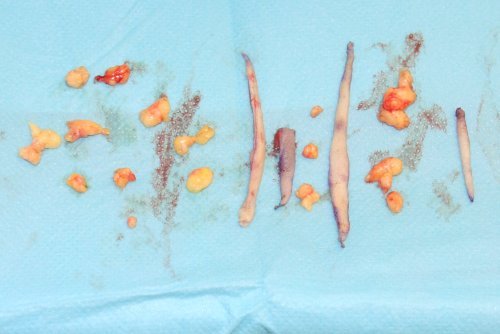
19) Skin strips and fat prolapses removed

20) Start stitching on the upper eyelid
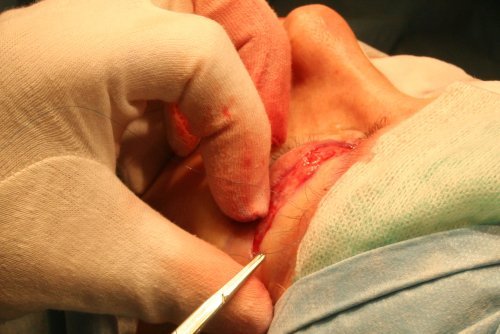

21) Very fine atraumatic suture materials are used for sewing
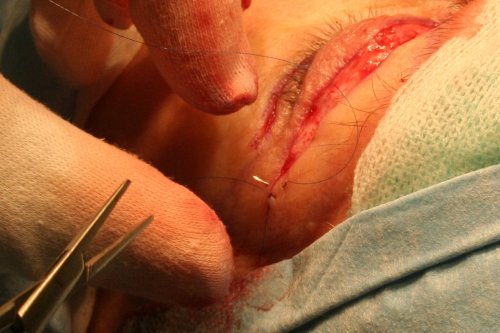

22) Especially on the upper eyelid, the correct suturing technique is very important for the resulting scar
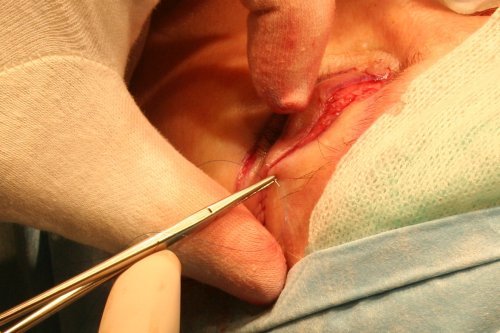

23) When suturing the skin of the lower eyelid, it is important that the edges of the skin are loose and do not pull on the eyelid margin
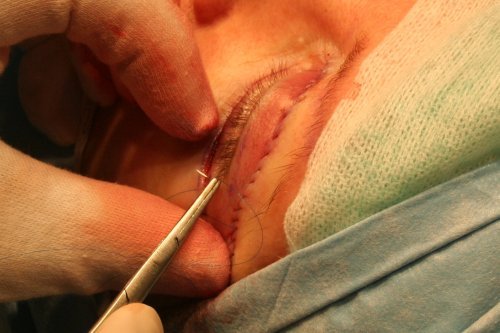

24) Suture - suturing both eyelids together completes the operation
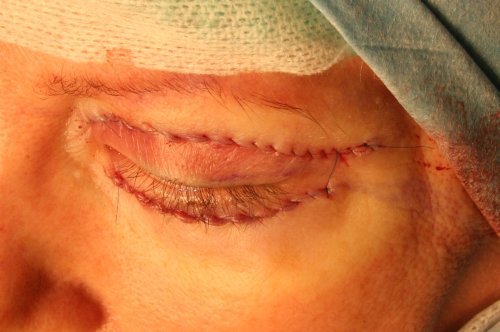

25) Sutures are covered with fine strips, the patient begins to wake up after the operation
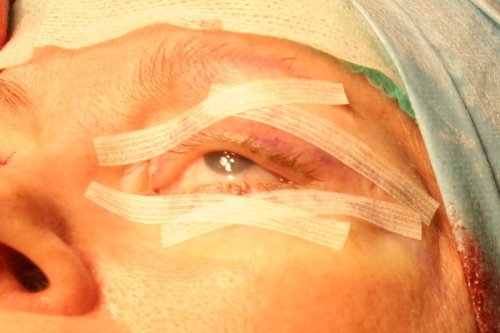

26) 4 months after surgery, scars are hardly noticeable, the skin of the lower eyelids has smoothed out well after removal of the fatty prolapse
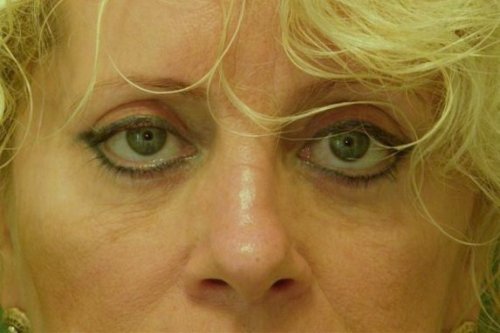

27) The natural shape and younger appearance of the eyes is evident in the overall view
